
why make this recipe
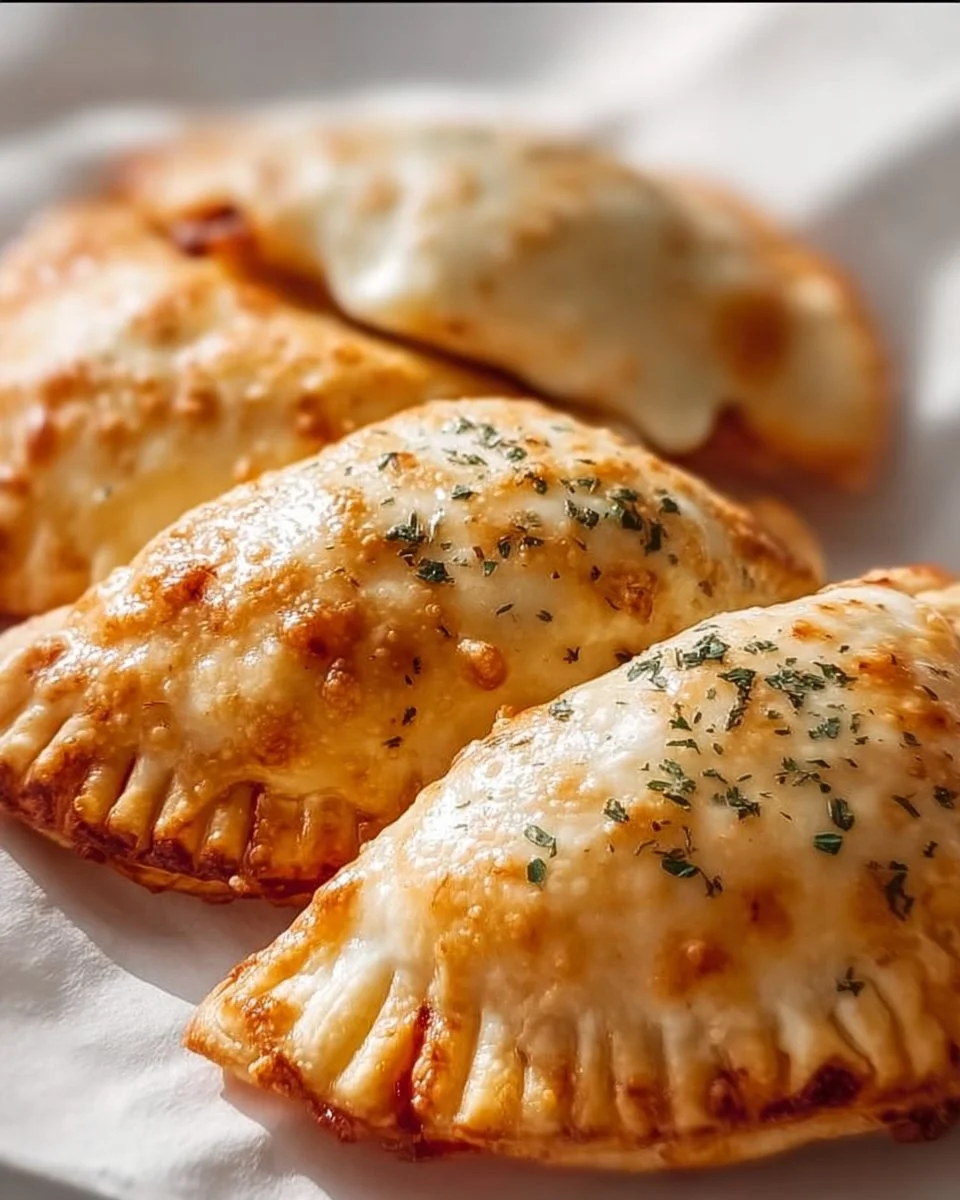
Cheesy Pizza Pockets are a perfect snack or meal. They are easy to make and fun to eat. Kids and adults love them! You can customize the filling with your favorite ingredients. Plus, they are baked to golden perfection, making them warm and crispy. Serve them at parties, game nights, or as a quick dinner option.
how to make Cheesy Pizza Pockets
Ingredients :
- 1 cup pizza dough
- 1 cup shredded mozzarella cheese
- 1/2 cup pizza sauce
- 1/2 cup sliced pepperoni (optional)
- 1 egg (for egg wash)
- Oregano (for seasoning)
- Flour (for dusting)
Directions :
- Preheat the oven to 400°F (200°C).
- Roll out the pizza dough on a floured surface.
- Cut the dough into circles (about 4 inches in diameter).
- Place a spoonful of pizza sauce, cheese, and pepperoni on one half of each circle.
- Fold the other half over to create a pocket and seal the edges with a fork.
- Brush the tops with egg wash and sprinkle with oregano.
- Place on a baking sheet and bake for 15-20 minutes until golden brown.
- Serve warm with additional pizza sauce for dipping.
how to serve Cheesy Pizza Pockets
Serve Cheesy Pizza Pockets warm right out of the oven. You can place them on a serving platter with a small bowl of pizza sauce for dipping. They make a great appetizer or a fun meal.
how to store Cheesy Pizza Pockets
If you have leftovers, allow the pizza pockets to cool completely. Store them in an airtight container in the fridge for up to 3 days. To reheat, simply pop them in the oven or microwave until warm.
tips to make Cheesy Pizza Pockets
- Use your favorite pizza toppings to customize the filling.
- Make sure to seal the edges well with a fork to prevent the filling from spilling out while baking.
- Experiment with different cheeses like cheddar or provolone for varied flavors.
variation
You can try adding vegetables like bell peppers, mushrooms, or olives for a healthier version. Also, feel free to omit the pepperoni for a cheese-only version.
FAQs
Can I use store-bought pizza dough?
Yes, store-bought pizza dough works perfectly for this recipe.
Can I freeze Cheesy Pizza Pockets?
Yes, you can freeze them! Just wrap them tightly and store in the freezer for up to a month. Reheat in the oven when ready to eat.
What other fillings can I add?
You can add cooked chicken, veggies, or even different types of cheese to get creative with the flavors!
Cheesy Pizza Pockets

Cheesy Pizza Pockets are an easy and fun snack, customizable with favorite fillings, and baked to golden perfection.
- Prep Time: 15 minutes
- Cook Time: 20 minutes
- Total Time: 35 minutes
- Yield: 4 servings 1x
- Category: Snack
- Method: Baking
- Cuisine: Italian
- Diet: Vegetarian
Ingredients
- 1 cup pizza dough
- 1 cup shredded mozzarella cheese
- 1/2 cup pizza sauce
- 1/2 cup sliced pepperoni (optional)
- 1 egg (for egg wash)
- Oregano (for seasoning)
- Flour (for dusting)
Instructions
- Preheat the oven to 400°F (200°C).
- Roll out the pizza dough on a floured surface.
- Cut the dough into circles (about 4 inches in diameter).
- Place a spoonful of pizza sauce, cheese, and pepperoni on one half of each circle.
- Fold the other half over to create a pocket and seal the edges with a fork.
- Brush the tops with egg wash and sprinkle with oregano.
- Place on a baking sheet and bake for 15-20 minutes until golden brown.
- Serve warm with additional pizza sauce for dipping.
Notes
For variations, try adding bell peppers, mushrooms, or olives to the filling. Store leftovers in an airtight container and reheat when needed.
Nutrition
- Serving Size: 1 pocket
- Calories: 250
- Sugar: 2g
- Sodium: 450mg
- Fat: 10g
- Saturated Fat: 4g
- Unsaturated Fat: 6g
- Trans Fat: 0g
- Carbohydrates: 28g
- Fiber: 1g
- Protein: 10g
- Cholesterol: 70mg
Keywords: pizza pockets, snacks, appetizers, easy recipes, party food